Using a Meeting Owl with Microsoft Teams

Topic

How to Use a Meeting Owl with Microsoft Teams

Environment (Products involved such as e.g. hardware, software, network)   

Meeting Owl, Computer, Microsoft Teams

Resolution or Steps 

1. Launch your Microsoft Teams application and make sure it's functioning properly.

2. Connect both USB and power cables to the Meeting Owl. 

3. Connect the USB-A cable to your computer.  Allow a few seconds for the Owl to power on and initialize.  It will make a "hoot" sound once it's ready.

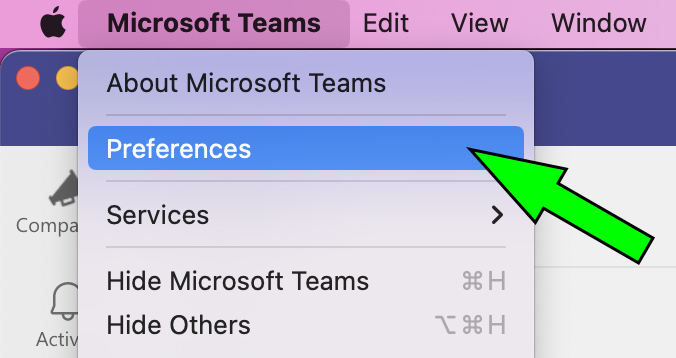
4.  On macOS, from the "Microsoft Teams" menu, select "Preferences" to continue:

“A macOS menu is open under ‘Microsoft Teams.’ The highlighted option ‘Preferences’ appears in blue, indicated by a large green arrow. Other visible menu options include About Microsoft Teams, Services, Hide Microsoft Teams, and Hide Others.”

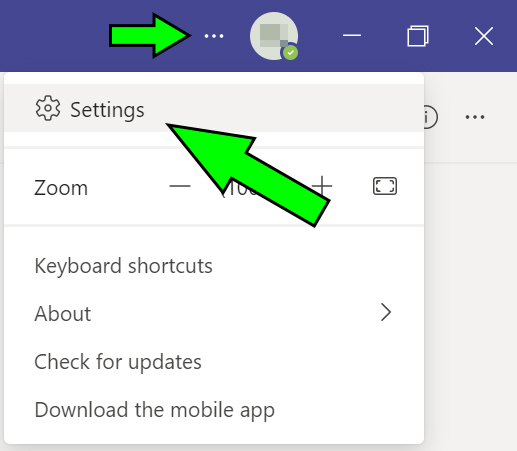
4.  On Windows, click on the three dots next to your profile image on the upper-right corner and select "Settings" to continue:

“Microsoft Teams window showing the profile menu opened from the three‑dot icon in the top right, highlighted by a green arrow. In the menu, the ‘Settings’ option is highlighted with another green arrow. Other visible menu items include Zoom controls, Keyboard shortcuts, About, Check for updates, and Download the mobile app.”

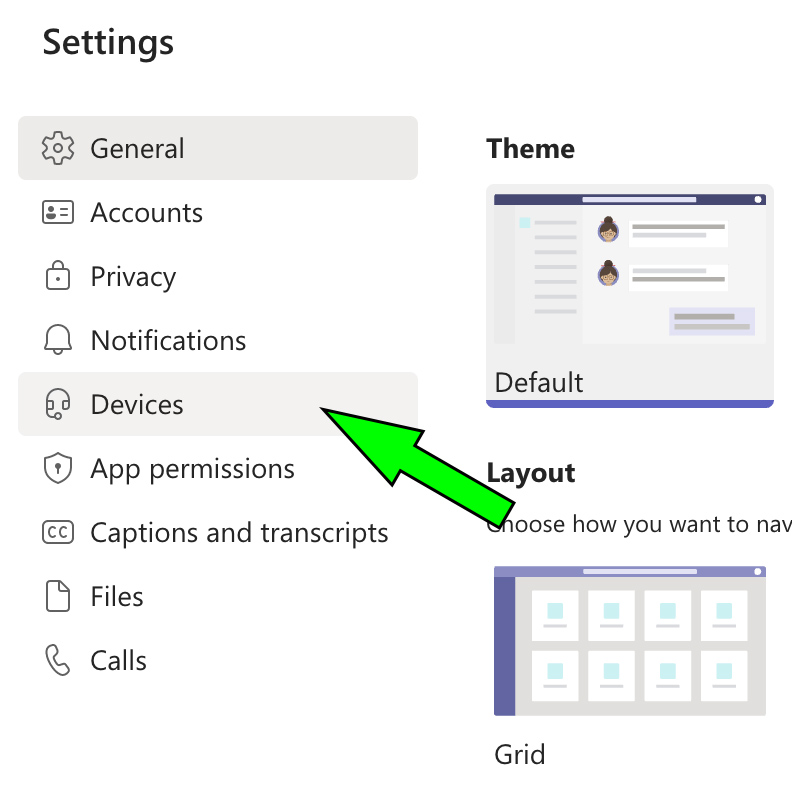
5.  In the "Settings" window, select "Devices" to continue:

“Microsoft Teams Settings menu showing a list of categories on the left. A green arrow points to the ‘Devices’ option. Other visible categories include General, Accounts, Privacy, Notifications, App permissions, Captions and transcripts, Files, and Calls. On the right side are preview illustrations under the headings ‘Theme’ and ‘Layout.’”

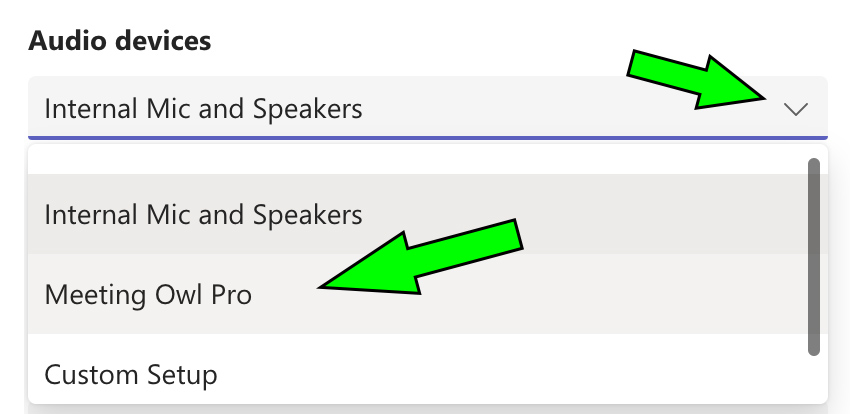
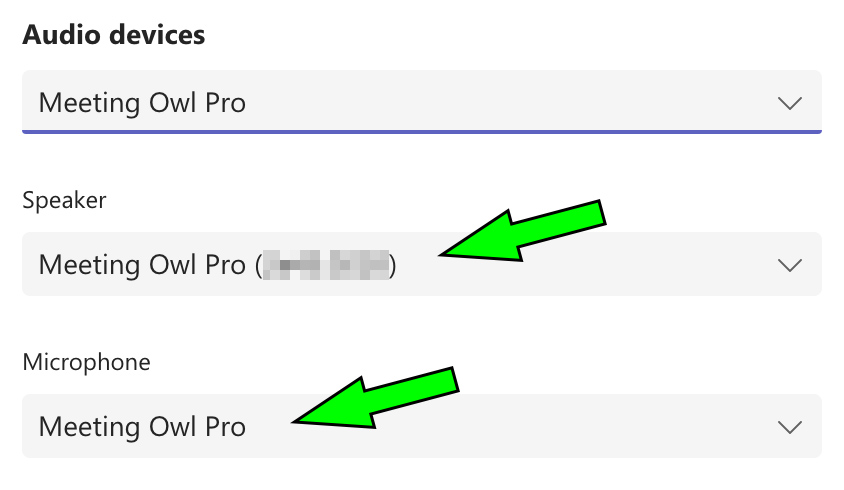
6.  In the "Audio devices" section, select "Meeting Owl" or "Meeting Owl Pro" as appropriate:

“Microsoft Teams audio device settings showing a dropdown labeled ‘Internal Mic and Speakers.’ A green arrow points to the dropdown arrow. The expanded list displays options including ‘Internal Mic and Speakers,’ ‘Meeting Owl Pro,’ and ‘Custom Setup,’ with a green arrow pointing to ‘Meeting Owl Pro.’”

7.  Once the Owl is selected, the "Speaker" and "Microphone" selections will automatically update to the Owl:

“Microsoft Teams audio devices settings screen. Under ‘Audio devices,’ the selected device is ‘Meeting Owl Pro.’ In the ‘Speaker’ section, the selected option shows ‘Meeting Owl Pro’ with additional blurred characters, highlighted by a green arrow. In the ‘Microphone’ section, ‘Meeting Owl Pro’ is also selected and indicated with another green arrow.”

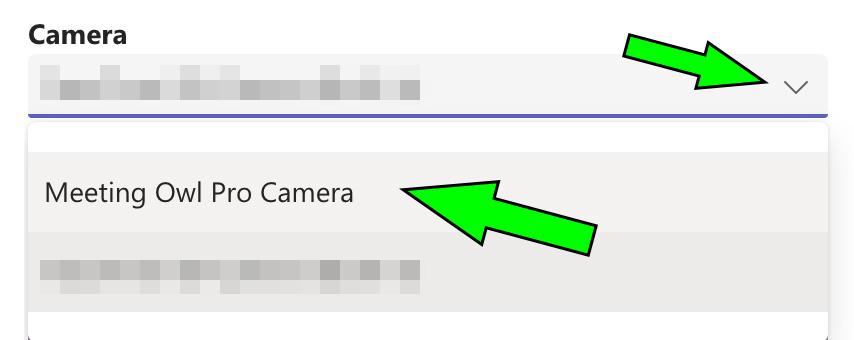
8.  Scroll down to the "Camera" section.  Select "Meeting Owl Pro Camera" from the dropdown Menu:

“Microsoft Teams camera settings section. A dropdown under the heading ‘Camera’ is expanded. A green arrow points to the dropdown arrow at the top. In the expanded list, a green arrow highlights the option labeled ‘Meeting Owl Pro Camera.’ Other camera options appear above and below but are blurred.”

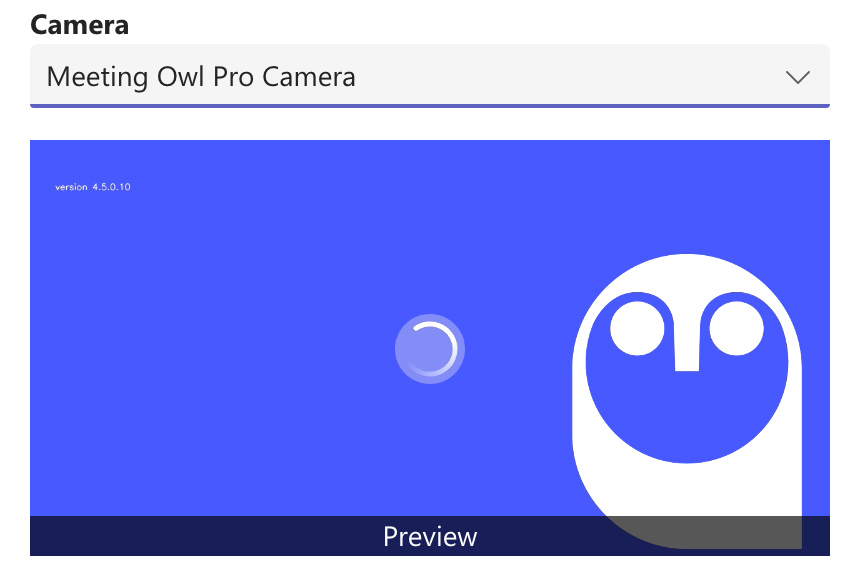
9.  The "Preview" window will "wake up" the Owl (if needed) and display a "Loading" window.  You can verify the Owl's version number, if needed, from this screen:

“Microsoft Teams camera settings showing ‘Meeting Owl Pro Camera’ selected in the dropdown. Below the dropdown is a large blue preview screen with a loading circle in the center. A stylized white owl graphic appears on the right side. The top left of the preview displays the text ‘version 4.5.0.10,’ and a bar at the bottom reads ‘Preview.’”

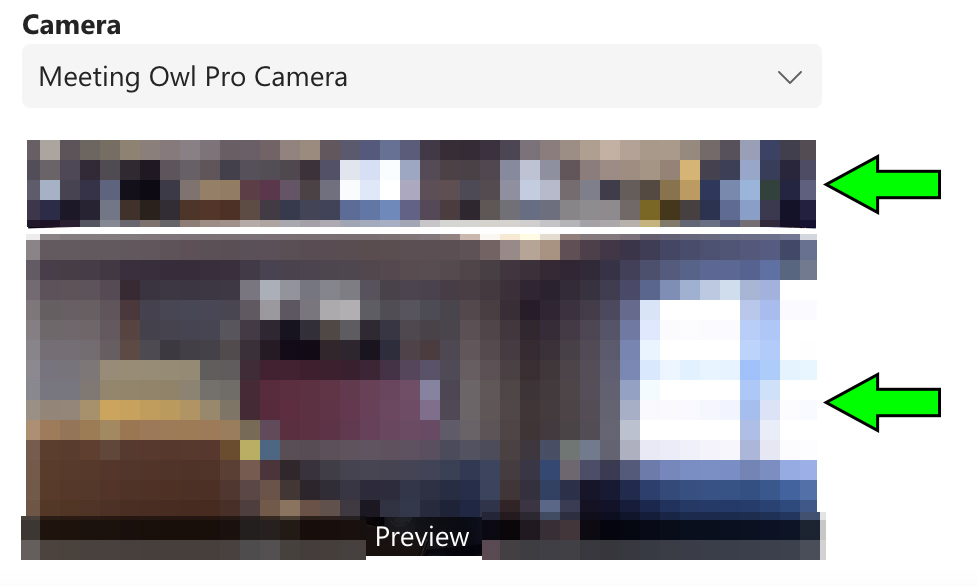
10.  Once the Owl has finished initializing, the "Preview" window will display two images:  the top is a 360-degree view of the room; the bottom one is a dynamic window that will showcase the currently-active speaker(s).

“Microsoft Teams camera settings showing ‘Meeting Owl Pro Camera’ selected in the dropdown. Below the dropdown is a live camera preview window displaying a pixelated room view. Two green arrows point to areas within the preview window. A black bar at the bottom of the preview contains the label ‘Preview.’”

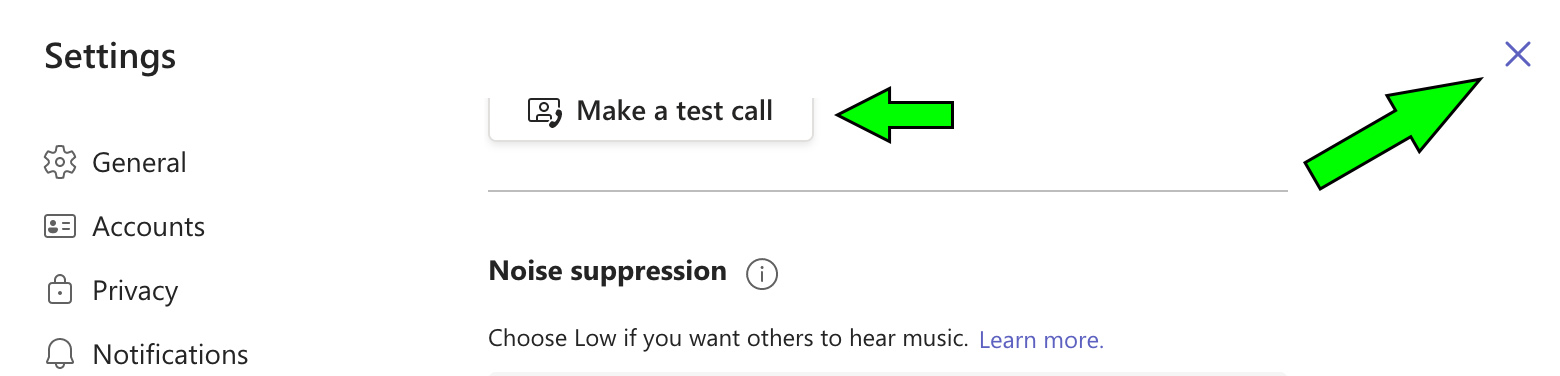
11.  Scroll up until you see the option to "Make a test call" if so desired.  Once the Owl has been properly configured, please close the "Settings" window by clicking on the large "X" on the upper-right corner of the window.  The Owl is now ready for use with Microsoft Teams:

“Microsoft Teams Settings page showing the left‑side menu with options such as General, Accounts, Privacy, and Notifications. At the top right, a green arrow points to the X button used to close the Settings window. A second green arrow points to the ‘Make a test call’ button near the top of the main settings panel. Below it is the Noise suppression section.”


Resources

Source: https://www.utep.edu/liberalarts/technology/how-tos/video-conferencing/using-a-meeting-owl-with-microsoft-teams.html

Was this helpful?
0 reviews